featuremapshiny::run_featuremap()8 Data Upload
This chapter focuses on how to use the first step of FeatureMAP Shiny rather than repeating all data-format details from the R package tutorial. If you need the full input specification, please refer to R package-Data Preparation, especially Section 2.1.
Important
Prerequisites: Make sure featuremapshiny has been installed as described in Chapter 7.
8.1 Start From Home Page
Launch the app with:
When the app opens, you will first see the Home page. In the center of the page, there are two main buttons:
- Get Started: jump directly to Data Upload, which is Step 1 of the workflow
- Documentation: open this tutorial in your browser
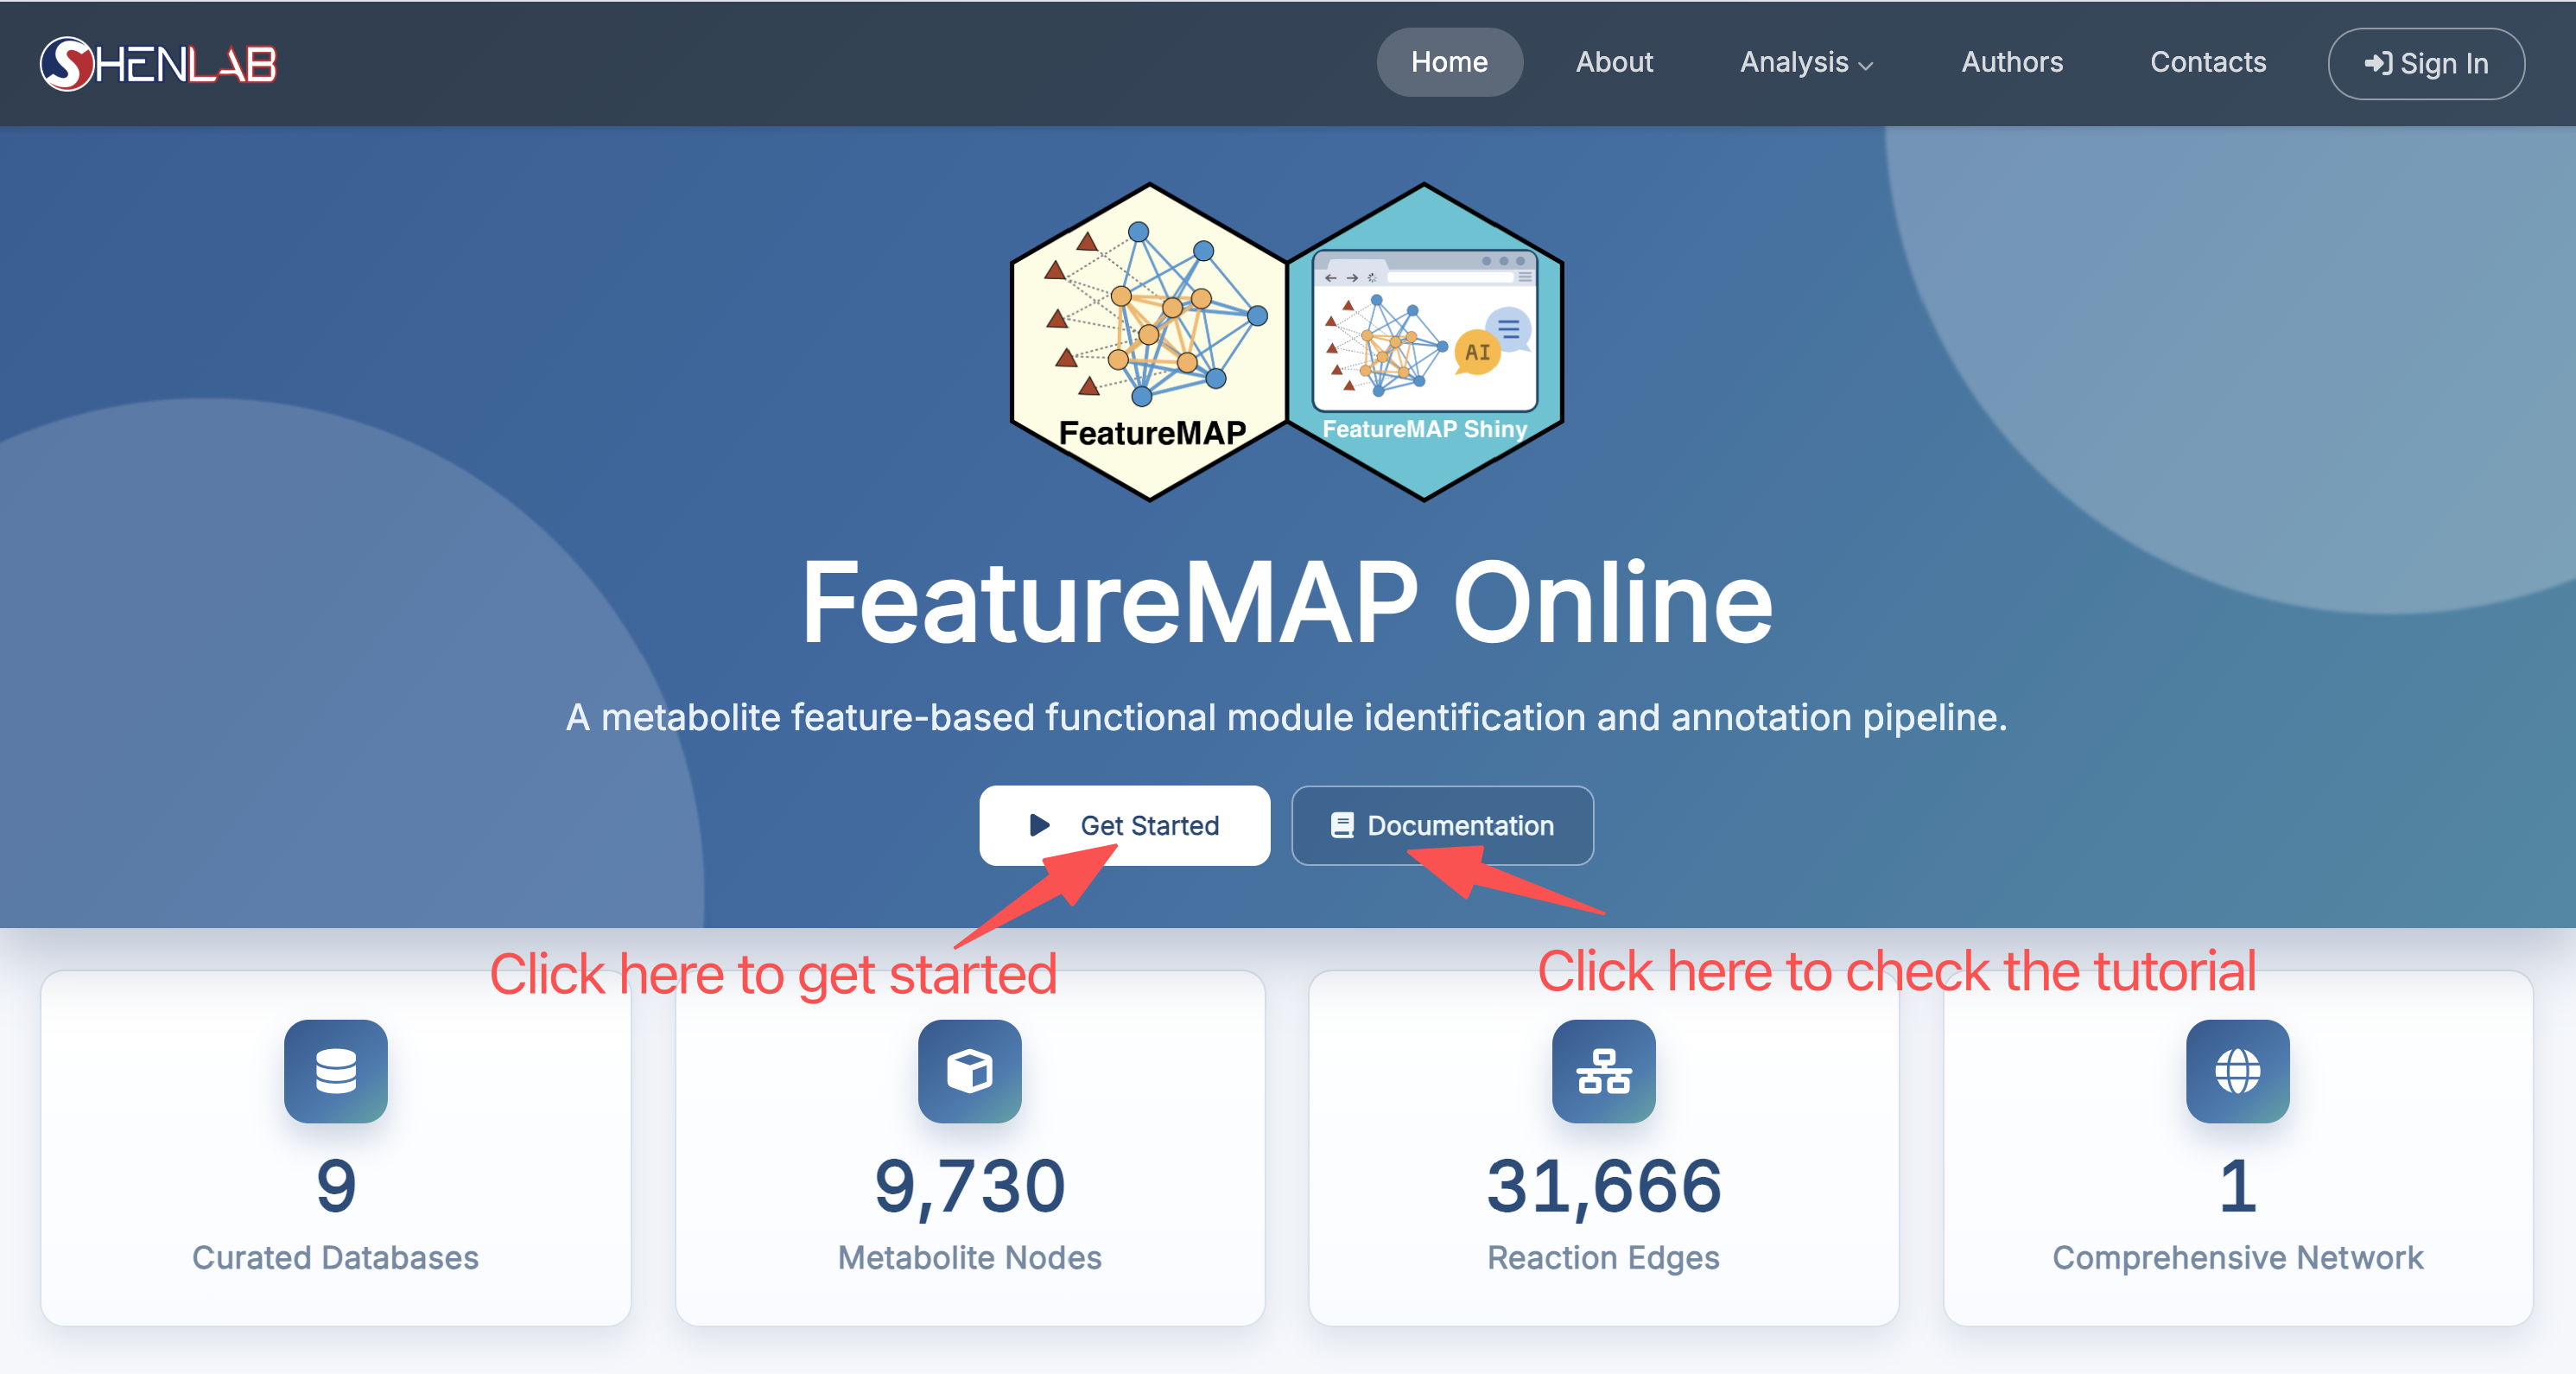
Here we click the button Get Started to start the analysis pipeline.
Note
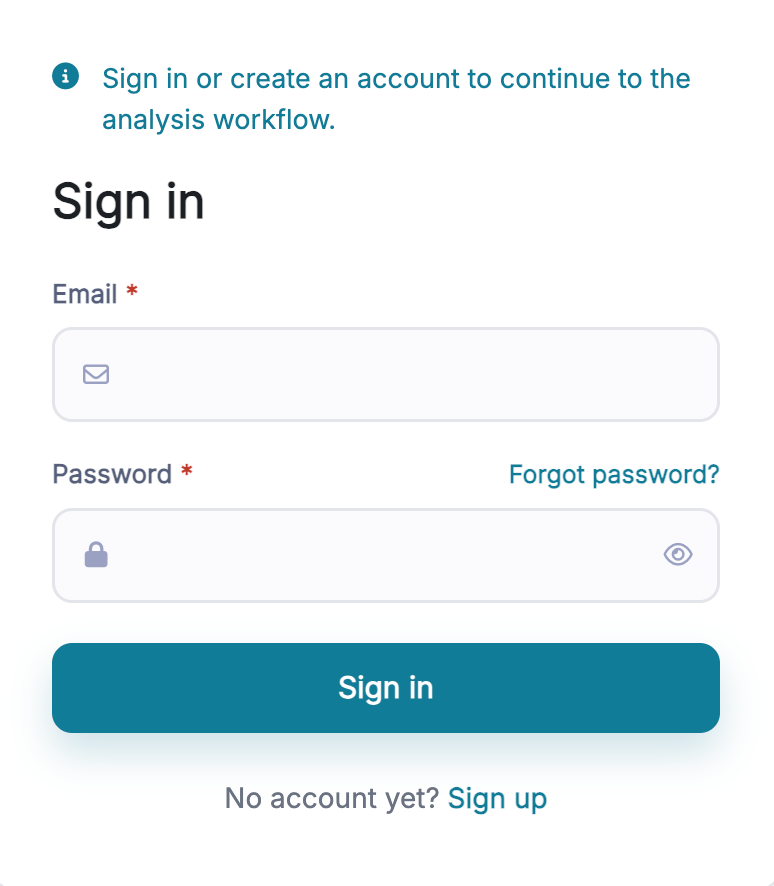
On the hosted deployment the analysis pages are protected. If authentication is enabled, clicking Get Started takes you to the Sign In page first; after signing in, the app returns to the page you were heading for.
8.2 Quick Guide
The first time you reach Data Upload, the app offers a short guided tour:
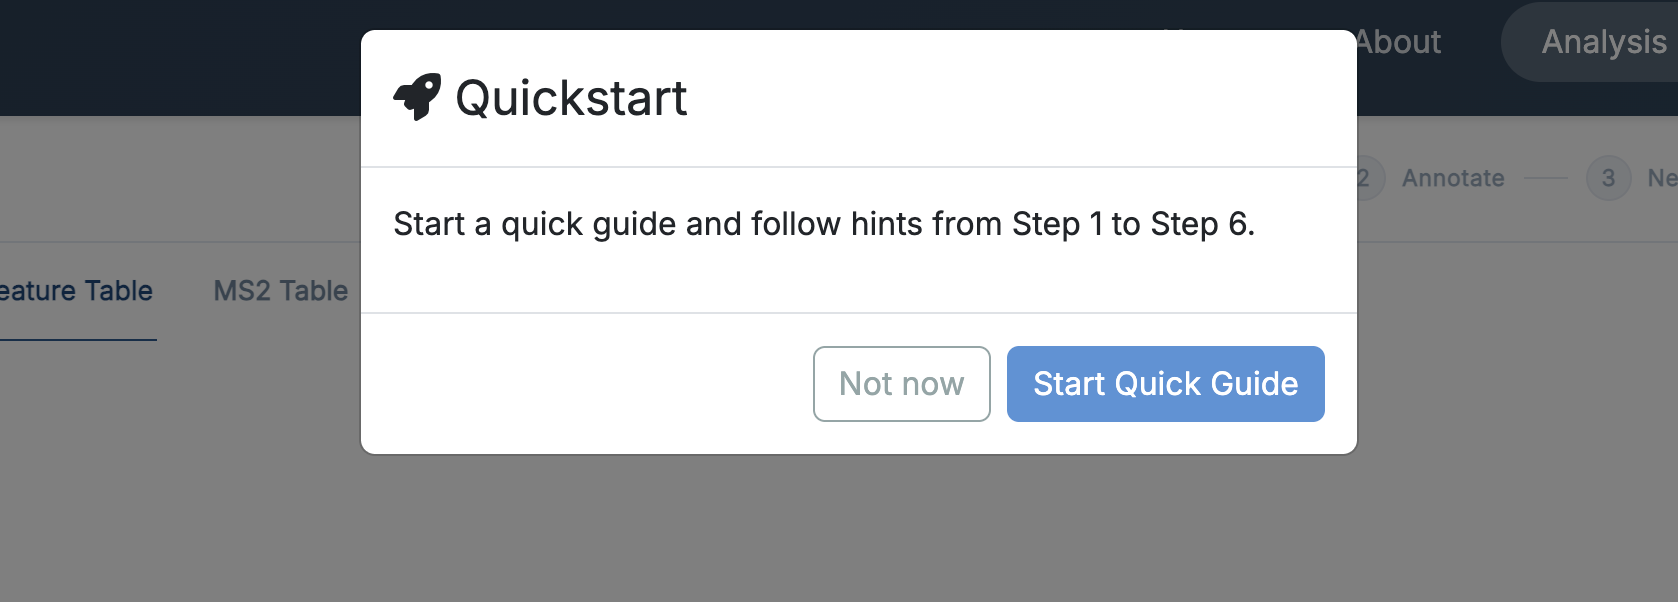
- Start Quick Guide highlights three spots on every step page in turn – the parameter sidebar, the Run button, and the result panel – and follows you from Step 1 to Step 6.
- Not now dismisses it; you can still read every parameter’s explanation from the ⓘ icons next to the field labels.
- While the guide is running, use Next to move to the next hint and Exit Guide to leave it at any time.
8.3 Data Upload Page
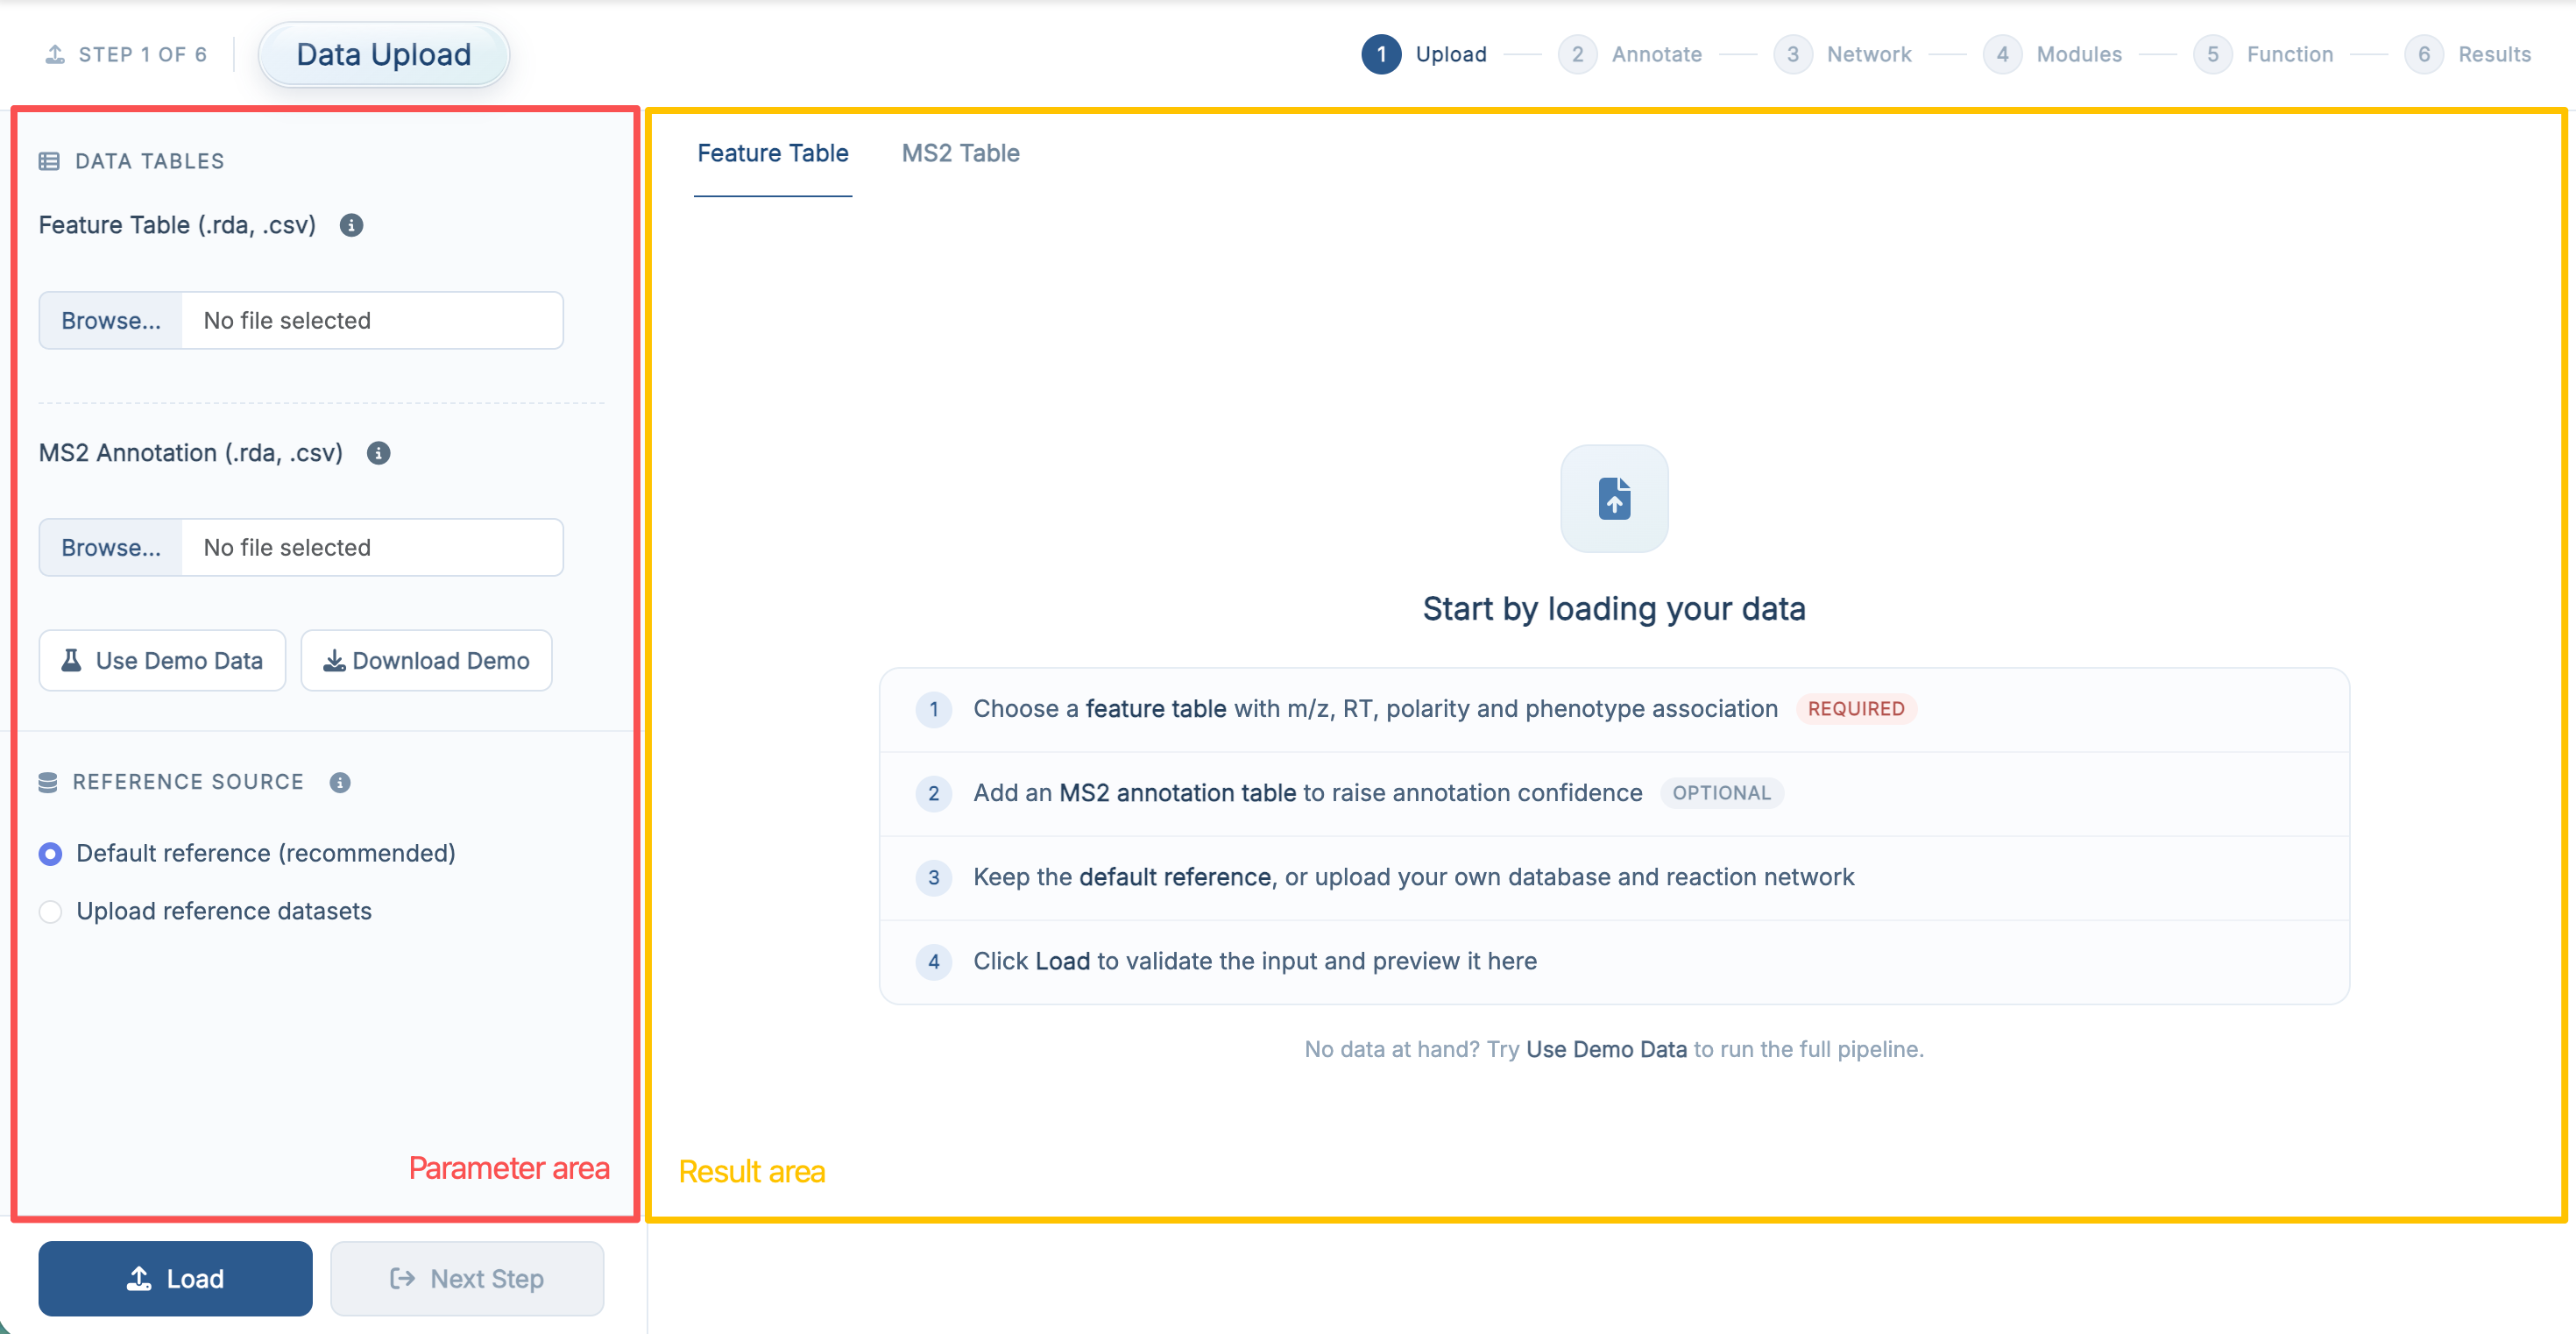
Data Upload is Step 1 of 6. Like every analysis page, it is divided into two areas:
- Parameter area on the left: upload your files, choose the reference source, and click Load
- Result area on the right: preview the loaded tables in the Feature Table and MS2 Table tabs, and check the loading message
8.4 What You Need to Provide
Compared with the R package tutorial, the main points to remember here are:
- a feature table is required
- an MS2 annotation table is optional
- you can keep the built-in reference resources or upload your own
The app accepts .csv, .rda and .RData files, up to 500 MB per file by default.
Important
Choosing between an HMDB and a KEGG namespace is no longer needed. FeatureMAP now uses one built-in merged database that keeps both HMDB and KEGG identifiers, exactly as described in R package-Feature Annotation.
8.4.1 Reference Source
- Default reference (recommended): use the MS1 annotation database and the metabolic reaction network that ship with the app.
- Upload reference datasets: two extra upload fields appear, for your own MS1 Annotation Database (
.rda, ametid-compatible database whosespectra.infocontainsLab.ID,Compound.name,Formula,HMDB.ID,KEGG.ID,CAS.ID,mz,RTandSubmitter) and your own Metabolic Reaction Network (.rda, anigraphobject). Format examples can be downloaded from featuremap_resources.
For detailed column definitions of feature_table and ms2_table, see R package-Data Preparation.
8.5 Recommended: Start with Demo Data
For most users, the best way to learn the app is to start with the built-in demo data.
The recommended sequence is:
- click Use Demo Data – the two upload fields are filled with
demo_feature_table.rdaanddemo_ms2.rda - keep Default reference (recommended)
- click Load
- confirm that the preview tables and the success message appear on the right
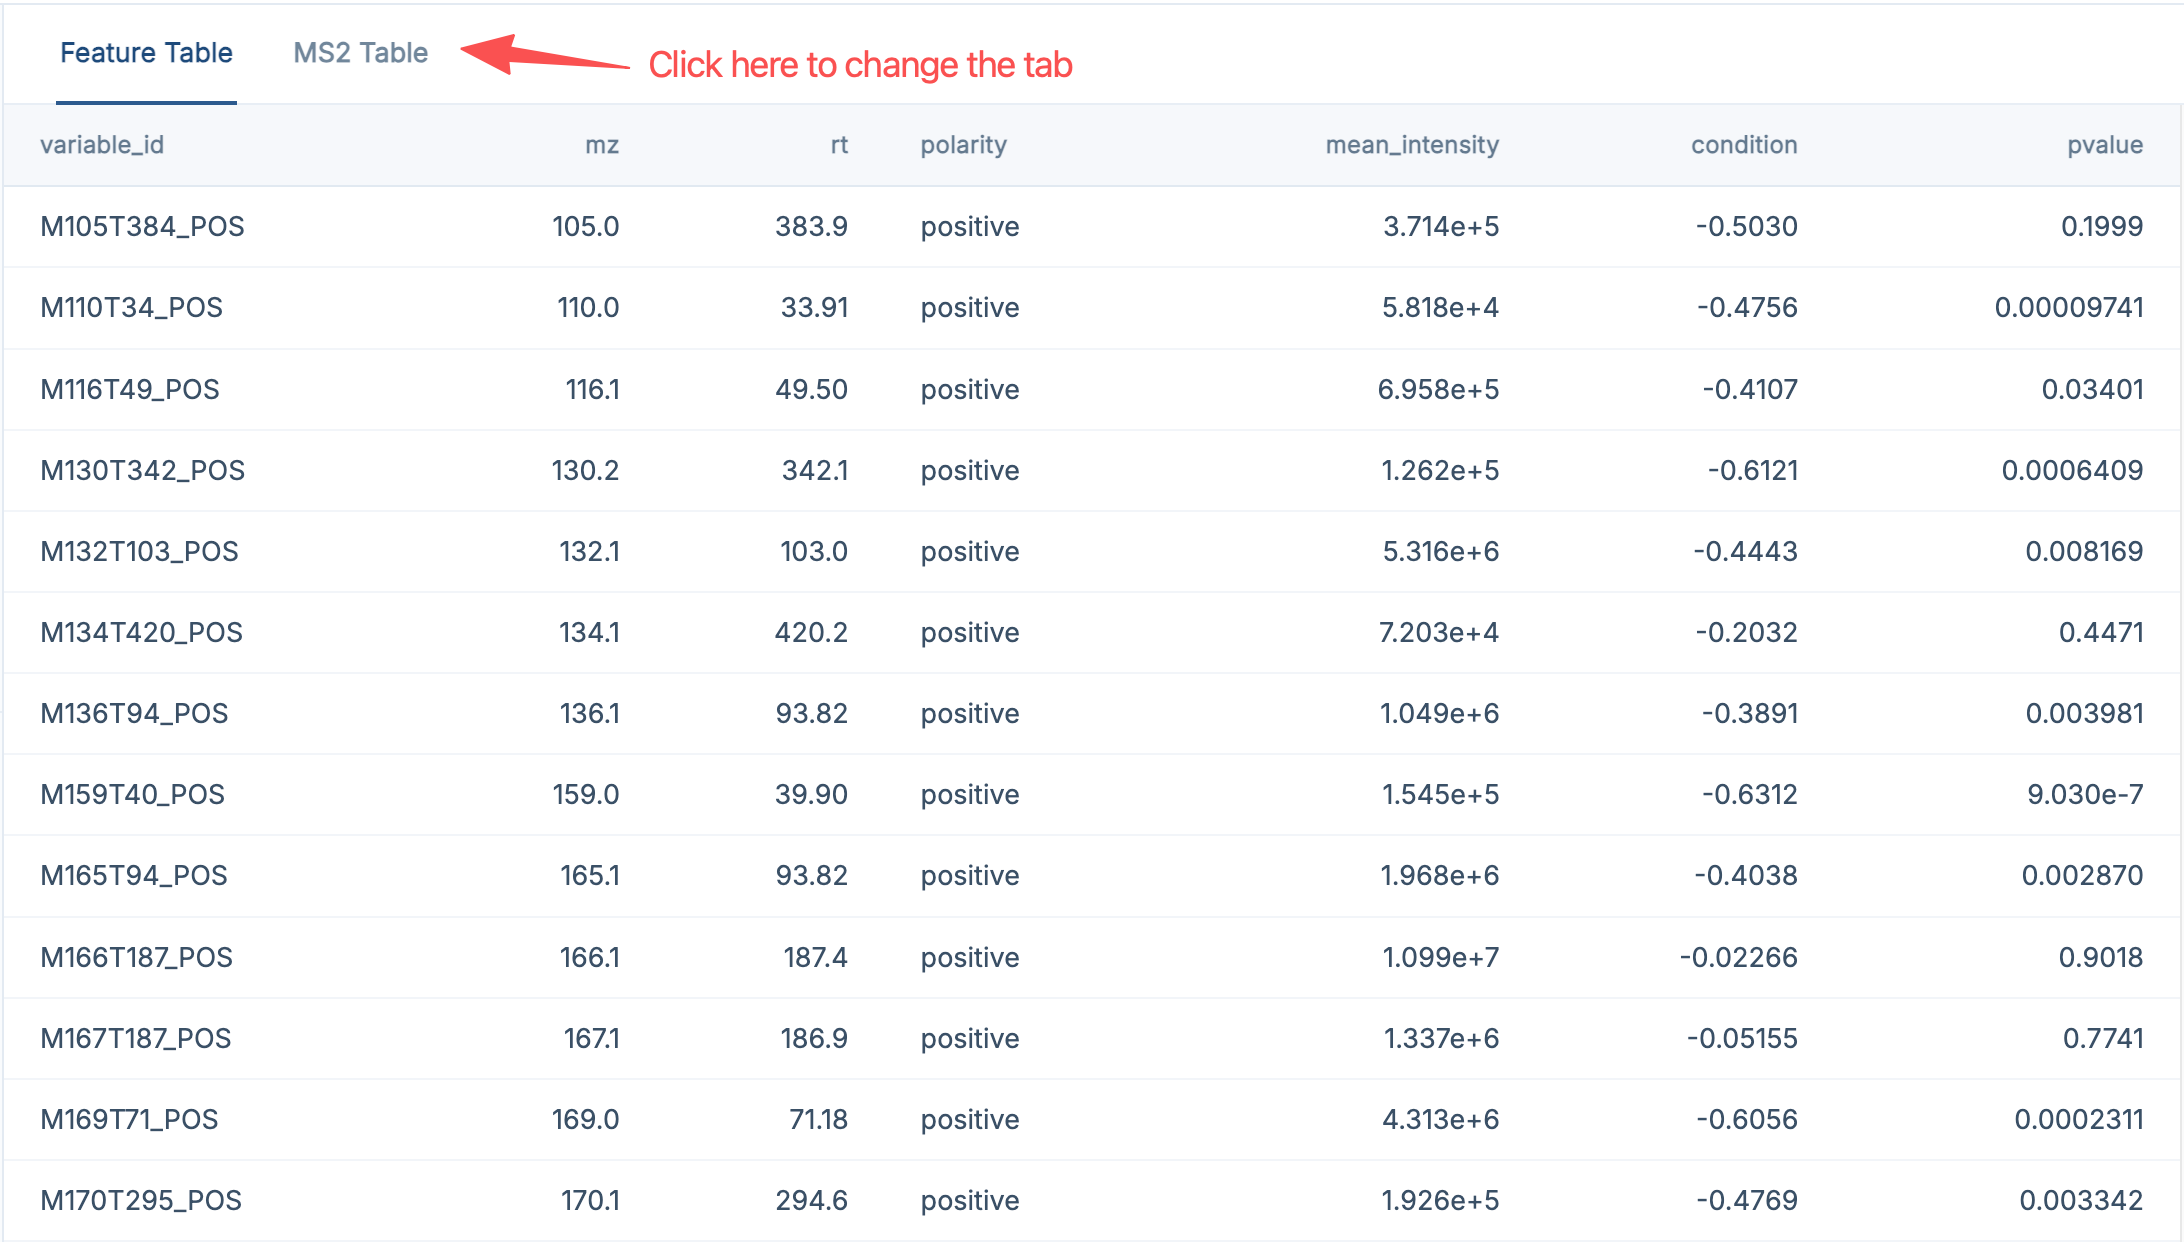
This lets you move through the full Shiny workflow first, before switching to your own dataset.
Tip
Use Demo Data only stages the demo files; you still need to click Load to place them into the current session. Download Demo saves the same two tables as a zip file, which is handy as a template for formatting your own data.
8.6 Next Step
Once the data are loaded successfully, the Next Step button becomes available. Click it to continue to Feature Annotation.