if (!requireNamespace("BiocManager", quietly = TRUE)) {
  install.packages("BiocManager")
}

if (!requireNamespace("remotes", quietly = TRUE)) {
  install.packages("remotes")
}7 Installation
FeatureMAP Shiny 1.0.0 is the interactive web interface for the FeatureMAP workflow. It lets you complete data upload, feature annotation, subnetwork extraction, module identification, function interpretation, and result export through a point-and-click interface, without writing the R pipeline manually.
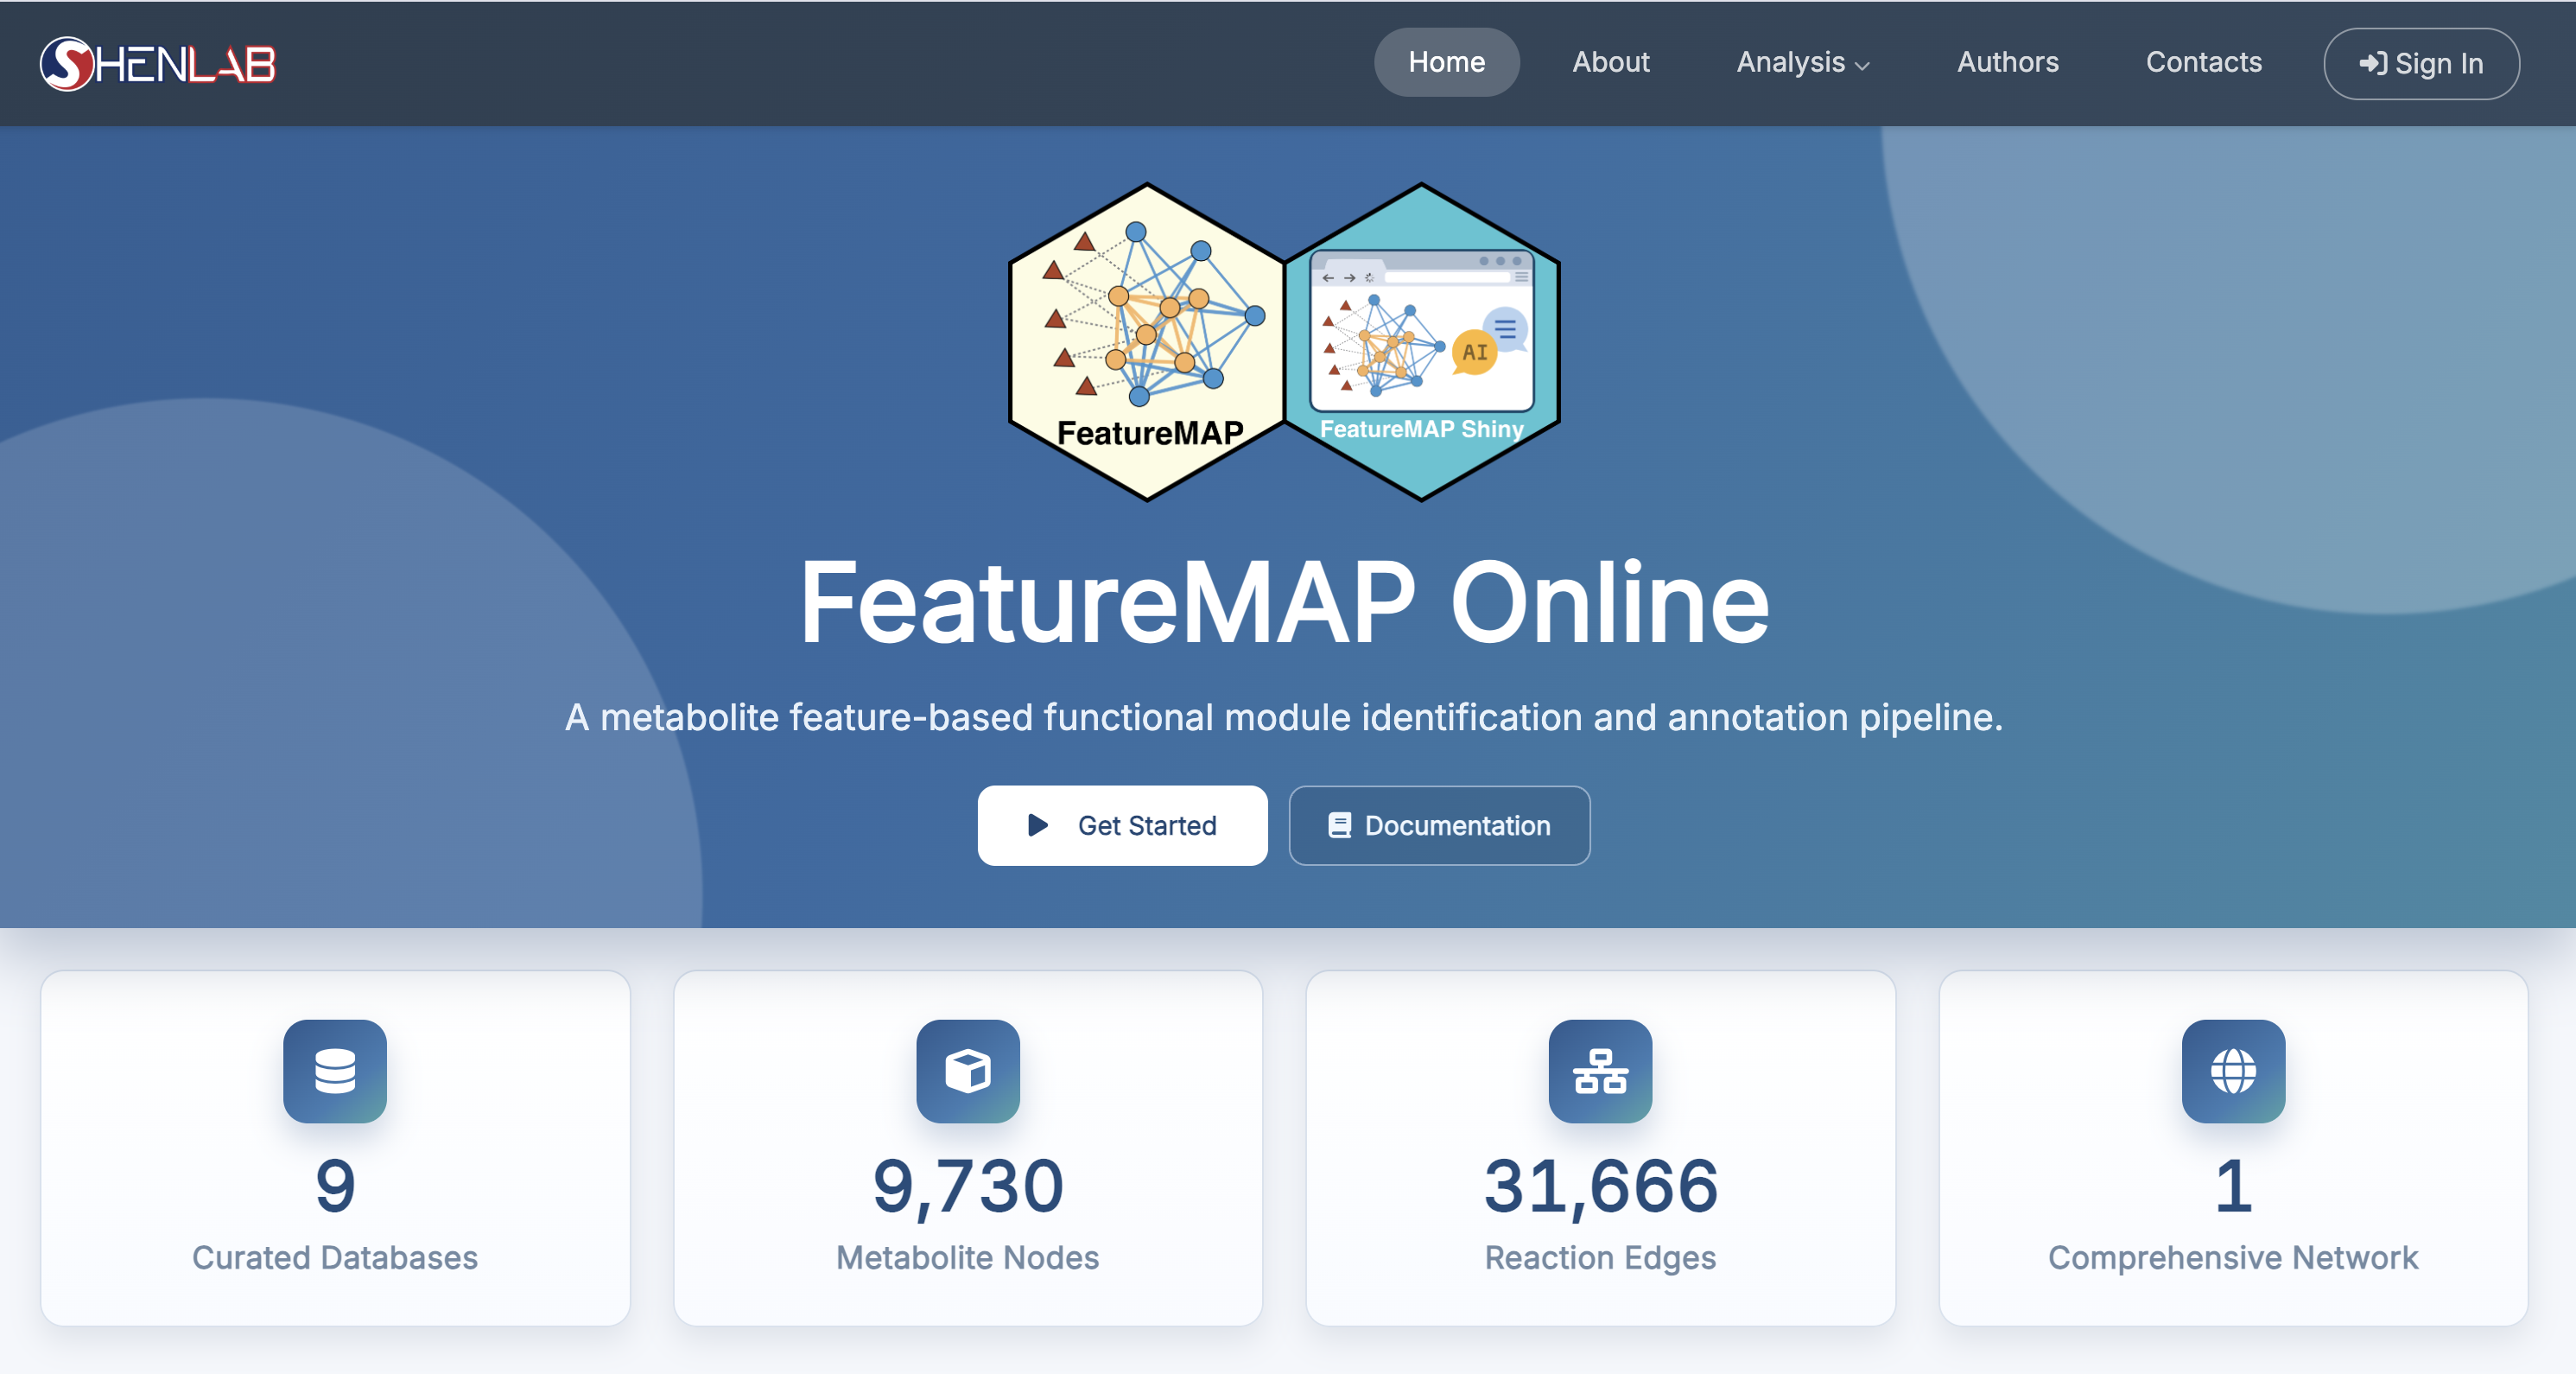
There are two ways to use FeatureMAP Shiny:
- R installation: install the
featuremapshinypackage locally and launch it from R - Web access: open the hosted Shiny app directly in a browser
7.1 R Installation
Before installing the Shiny package, make sure the package manager tools are available:
Install the upstream dependencies required by featuremapshiny:
if (!requireNamespace("masstools", quietly = TRUE)) {
  remotes::install_github("tidymass/masstools")
}

if (!requireNamespace("massdataset", quietly = TRUE)) {
  remotes::install_github("tidymass/massdataset")
}

if (!requireNamespace("metid", quietly = TRUE)) {
  remotes::install_github("tidymass/metid")
}

if (!requireNamespace("pcsf2featuremap", quietly = TRUE)) {
  remotes::install_github("tidymass/pcsf2featuremap")
}
Then install the Shiny package itself from GitHub:
remotes::install_github(
  "tidymass/featuremap_shiny",
  dependencies = TRUE,
  repos = BiocManager::repositories(),
  upgrade = "ask"
)

stopifnot(packageVersion("featuremapshiny") >= "1.0.0")
packageVersion("featuremapshiny")
# [1] '1.0.0'
Note
featuremapshiny is self-contained: it carries its own copy of the analysis pipeline and ships the built-in reference resources (the merged MS1 compound database, the metabolic reaction network, the HMDB/KEGG functional and pathway references, and the demo data) inside the package. You therefore do not need to install the featuremap package separately, and the app does not download reference databases at runtime. PubMed retrieval and LLM-assisted interpretation still connect to their respective external APIs when enabled.
Tip
How to Launch the Shiny App
- In an R session, run:
featuremapshiny::run_featuremap() - An R viewer window will open where you can start the workflow. You can also use the Open in Browser button to launch it in your default web browser.
- You can stop the app at any time by closing the browser tab/window or pressing the stop button in your R IDE.
7.2 Web Access
A hosted, browser-based instance of FeatureMAP Shiny will be available for users who prefer not to manage a local R environment. It provides the same point-and-click interface as the local Shiny application and requires no installation.
Web application: https://featuremap_shiny.jaspershenlab.com
Note
The workflow described in the following Shiny chapters applies to both the local featuremapshiny package and the hosted web application.
7.3 Accounts and Sign In
The app has an optional account layer:
- Local installation (default): authentication is switched off. You can go straight from Home to the analysis pages, and the Sign In entry in the navigation bar is hidden.
- Hosted deployment: authentication is switched on, so the six analysis pages are protected. You need to create an account, verify your email address, and sign in before Step 1 becomes available.
Server administrators enable it by setting the environment variables FEATUREMAP_AUTH_ENABLED=true and FEATUREMAP_AUTH_DB (a persistent SQLite path) before starting the app.
7.4 Upload Limit
Uploads are capped at 500 MB per file by default, which is enough for most feature tables and for a custom reference database. If you need a larger limit for a local run, set it before launching the app:
options(featuremap.max_upload_mb = 1000)
featuremapshiny::run_featuremap()
The environment variable FEATUREMAP_MAX_UPLOAD_MB does the same thing for a deployed instance.
7.5 Getting Around the App
The top navigation bar contains:
- Home – the landing page, with the Get Started and Documentation buttons
- About – scrolls to the workflow overview on the Home page
- Analysis – a dropdown with the six workflow steps: 1 Data Upload, 2 Feature Annotation, 3 PCSF Subnetwork, 4 Module Identification, 5 Function Interpretation, 6 Results Download
- Authors and Contacts
- Sign In / your account menu, when authentication is enabled
Every analysis page shares the same layout: a step rail at the top showing where you are in the six steps, a parameter sidebar on the left ending with the Run and Next Step buttons, and a result area on the right. Small ⓘ icons next to the field labels explain each parameter in place.
Once you install the FeatureMAP Shiny successfully, continue to next step.